Edit the portal settings
Video: Configuring Client Portal settings
Settings - Client Portal
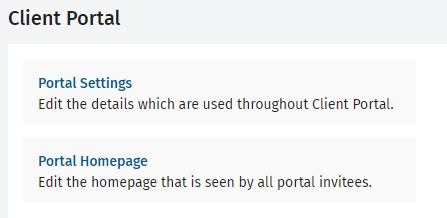
- Click Settings > Client Portal.
- Click Portal Settings.
- Type the reply address from which you want to send notification emails to clients.
- Enter the firm name you want to appear in emails sent from your portal. This name is inserted into emails if you use the Firm Name merge field in your email templates.
- Select the Notify client of new files in Portal check box, this setting automatically sends an email notification to clients when you upload files.
- Select your preferred incoming file notification settings:
- Notify Partner of incoming files and changes from clients - this sends an email to the partner of the contact to notify them of any incoming files or changes to their contact information.
- Notify Manager of incoming files and changes from clients - this sends an email to the manager of the contact to notify them of any incoming files or changes to their contact information.
- Also notify of incoming files and changes from clients - this sends an email to other people to notify them of any incoming files or changes from clients. Type the email addresses separated by a semicolon (up to 254 characters maximum).
.png)
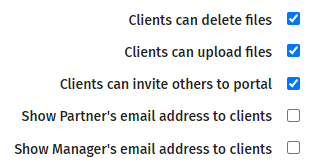
- Turn off the default settings, if required:
- Clients can delete files - clearing the check box suppresses the Delete button in the client portal and therefore, prevents the client from deleting files or folders.
- Clients can upload files - clearing the check box suppresses the Upload button in the client portal and therefore, prevents the client from uploading files.
- Clients can invite others to portal - clearing the check box suppresses the Invite to Portal button in the client portal and therefore, prevents the client from inviting others to the portal.
- Select the Show Partner's email address to clients and Show Manager's email address to clients check boxes, as required.
- If a client was invited directly by your firm, that client sees your firm partner and manager names displayed on their My Details page.
- This setting turns the partner and/or manager names into links that the client can click to send an email to the partner and/or manager. The email subject is, "Inquiry from client portal".
- Select the default email templates you want to use for notifications (you can edit the templates to suit your needs).
- Change the Default Folder Structure setting, if required.
- This is set to Yes but you can change it to No, if you do not want default folders created automatically within each portal.
- Click Manage Default Structure and proceed to set up the default folder structure the way you want.
- Select the default landing page. This is the page that clients land on when they log in to your portal. You can set the landing page to be: Home, My Details or My Documents. For example, Home is the default landing page, but if you do not have any useful information on this page, you may want your clients to land on the My Documents page instead, so they have quicker access to the documents they are looking for.
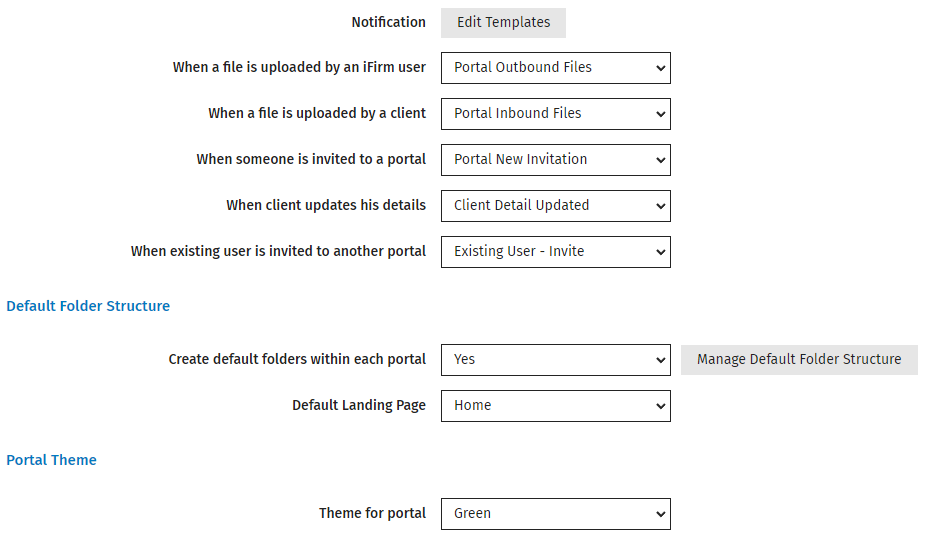
- Select your preferred Portal Theme:
- You can change the standard green color to Blue, Green, Orange, or Red.
- The new color theme is applied to your clients' portals, on both the Login page and main Portal page.
- Click Save.